Install an SSL certificate on Azure App Service
In the previous chapter, we created ClouldFlare's free SSL certificate. Here, we will install it in Azure app service.
Azure needs a certificate in the .pfx format. So, you need to generate a .pfx file for your certificate.
If your CA (Certificate Authority) has not provided the .pfx certificate then you need to convert your certificate to .pfx format. To do this, you need to install the Open SSL tool to your machine. Once installed, go to the installation directory (on Windows it is C:\OpenSSL-Win32\bin) and double click on openssl.exe to start working with OpenSSL. Visit SSL Certificate Format and OpenSSL for more information on OpenSSL convert commands.
Execute the following command in OpenSSL to generate the .pfx file.
openssl> pkcs12 -export -out mycertificate.pfx -inkey myprivateKey.key -in mycertificate.crtYou will be asked for the password that will be required when uploading the certificate on Azure.
The command will generate the mycertificate.pfx file, which you will need to upload in the Azure app service.
Now, go to your Azure app service and select the SSL settings menu in the left bar.
First, you need to upload your origin certificate in Azure. Go to the Private Certificates (.pfx) tab and click on the Upload Certificate link.
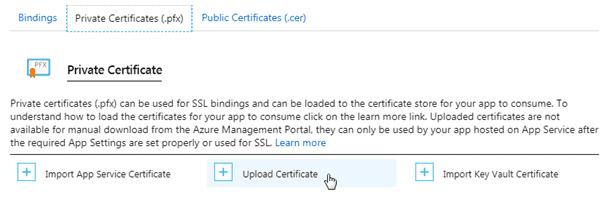
Now, upload your .pfx certificate and provide the password which you provided when your generated the .pfx file in OpenSSL.
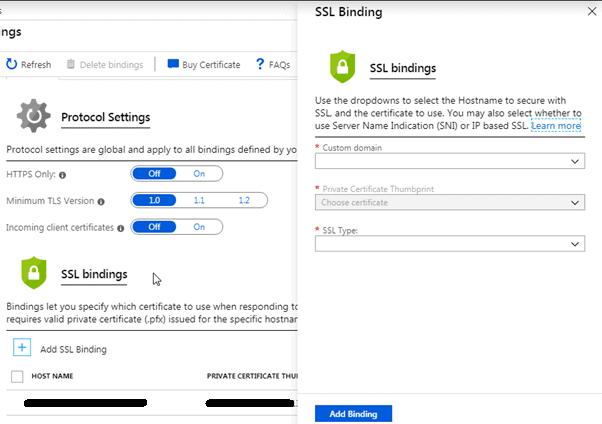
Once you upload the certificate, you need to bind it to your app service in Azure. Go to the Bindings tab and click on Add SSL Binding. Select the host name, choose the certificate file and select SSL type as SNI SSL. Finally, click on the Add Binding button to bind it to your app service.
Note: If you use ClouldFlare then, you need to select the SSL mode as Full in the Crypto tab in Clouldflare to achieve full end-to-end encryption.