Create ASP.NET Core MVC Application
Here, you will learn how to create the first ASP.NET Core application in Visual Studio 2022. We will use the .NET 7 framework that contains ASP.NET 7(also known as ASP.NET Core).
Open Visual Studio 2022 and click on Create a new project, as shown below.

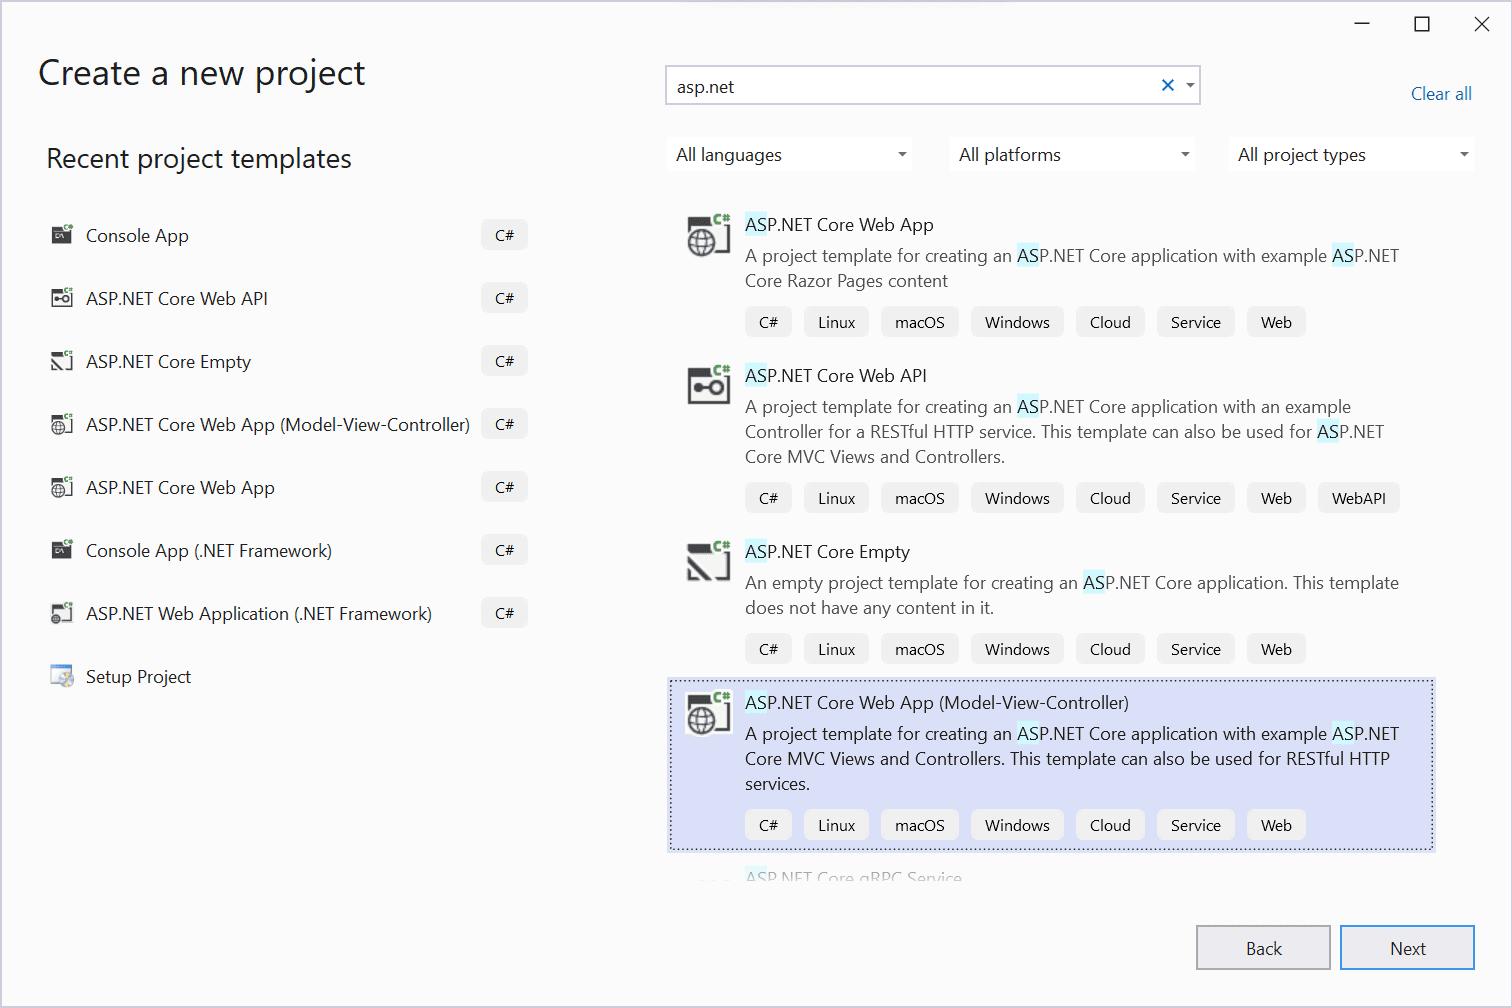
Now, write "asp.net" in the search box. This will list all the project types for ASP.NET applications. Here we will create an ASP.NET MVC application, so select the ASP.NET Core Web App (Model-View-Controller) template and click on Next, as shown below.
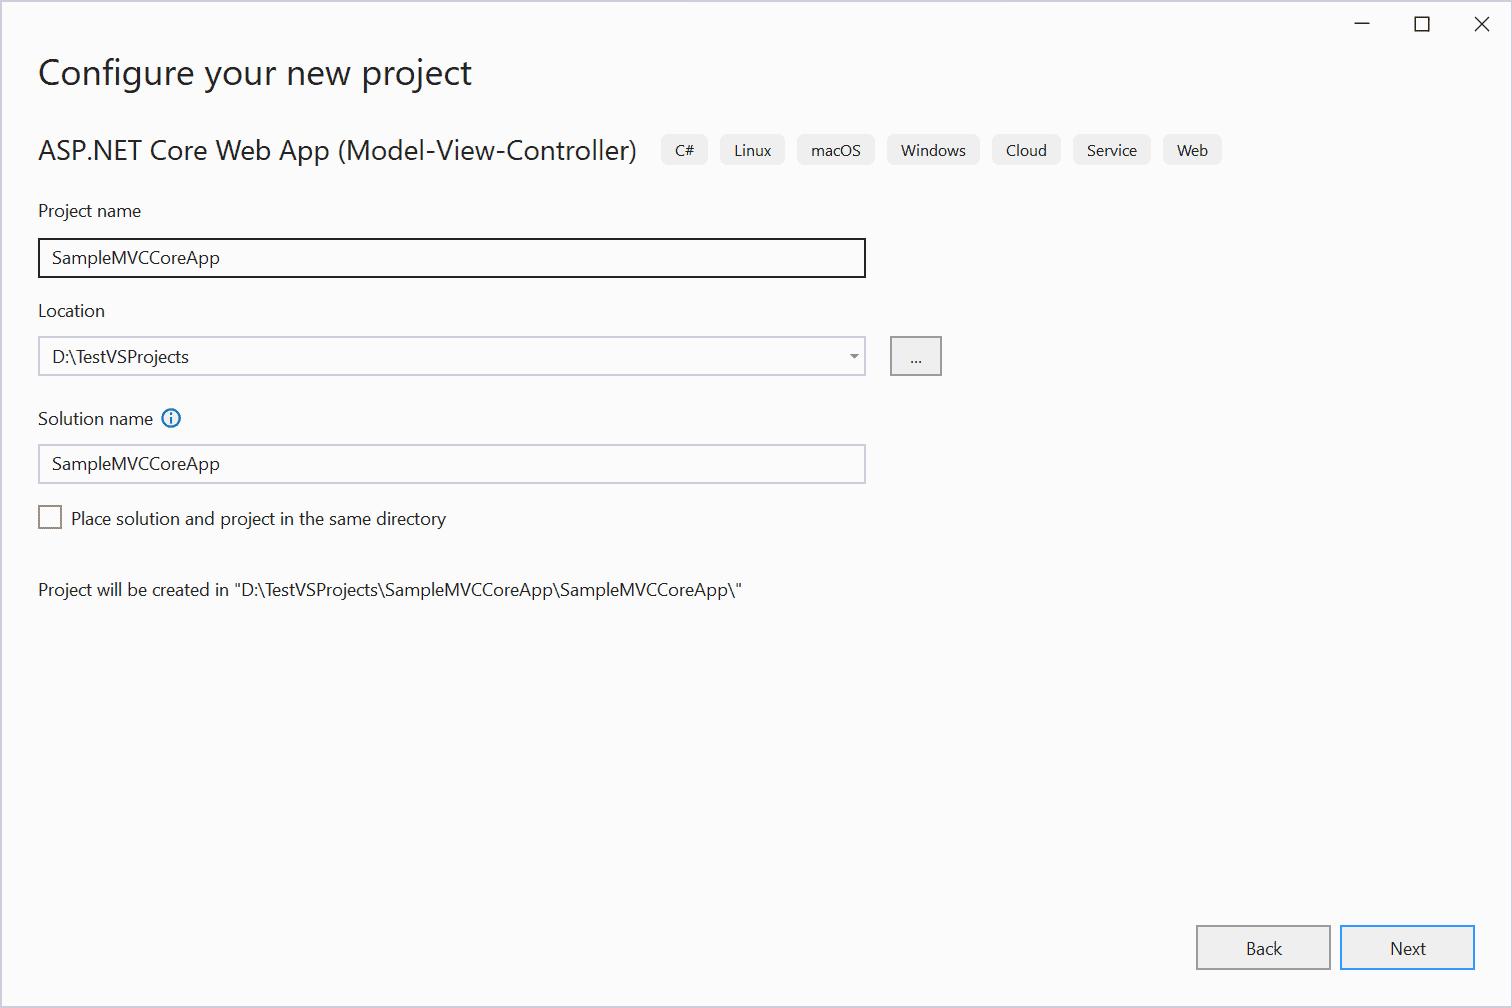
Next, give the appropriate name, location, and solution name for the ASP.NET Core application. In this example, we will give the name "SampleMVCCoreApp" and click on the Create button, as shown below.
Next, select the .NET framework. Here, we will select .NET 7, the latest version of .NET Core. We are not going to provide any authentication for now, so keep the default authentication type "None", as shown below.
We will not use HTTPS for now for our local development, so uncheck "Configure for HTTPS" checkbox. We also not going to create a docker for this so keep it unchecked. We are going to use the top-level statements for our project, so keep this unchecked too, as shown below.

Now, click on the "Create" button to generate the default ASP.NET Core MVC project. The default ASP.NET MVC Core project structure in Visual Studio will look like below.

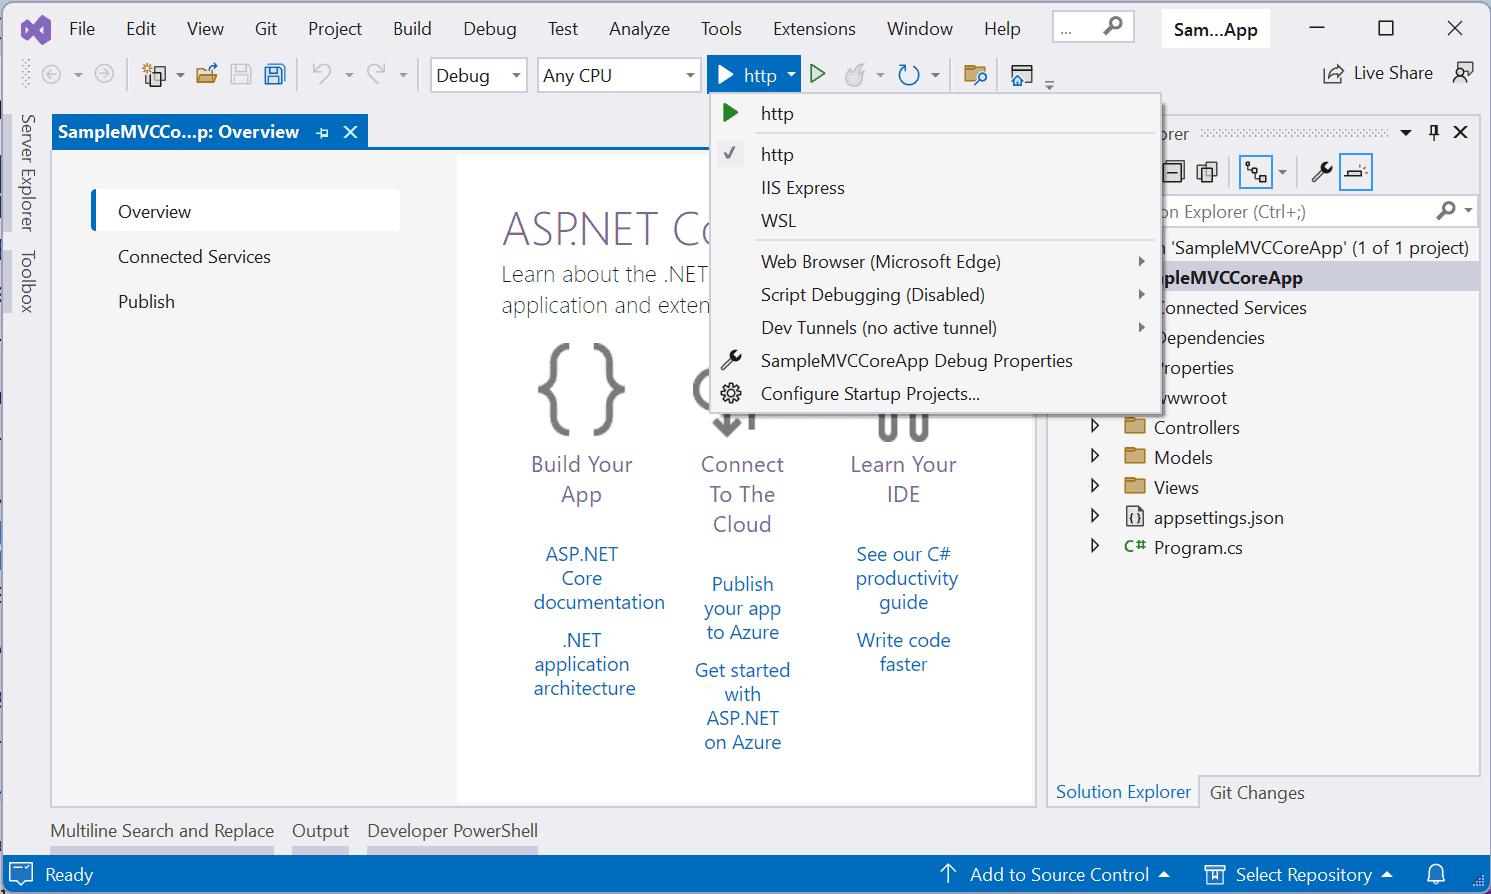
The ASP.NET Core web applications are self-hosted on the internal web server called "Kestrel". So, you don't need to use IIS Express or other web server. However, Visual Studio gives you an option to use IIS Express if you would like to use it. Click on the dropdown arrow with "http" to use the web server you like. Here, we will just use Kestrel so keep the default "http", as shown below.
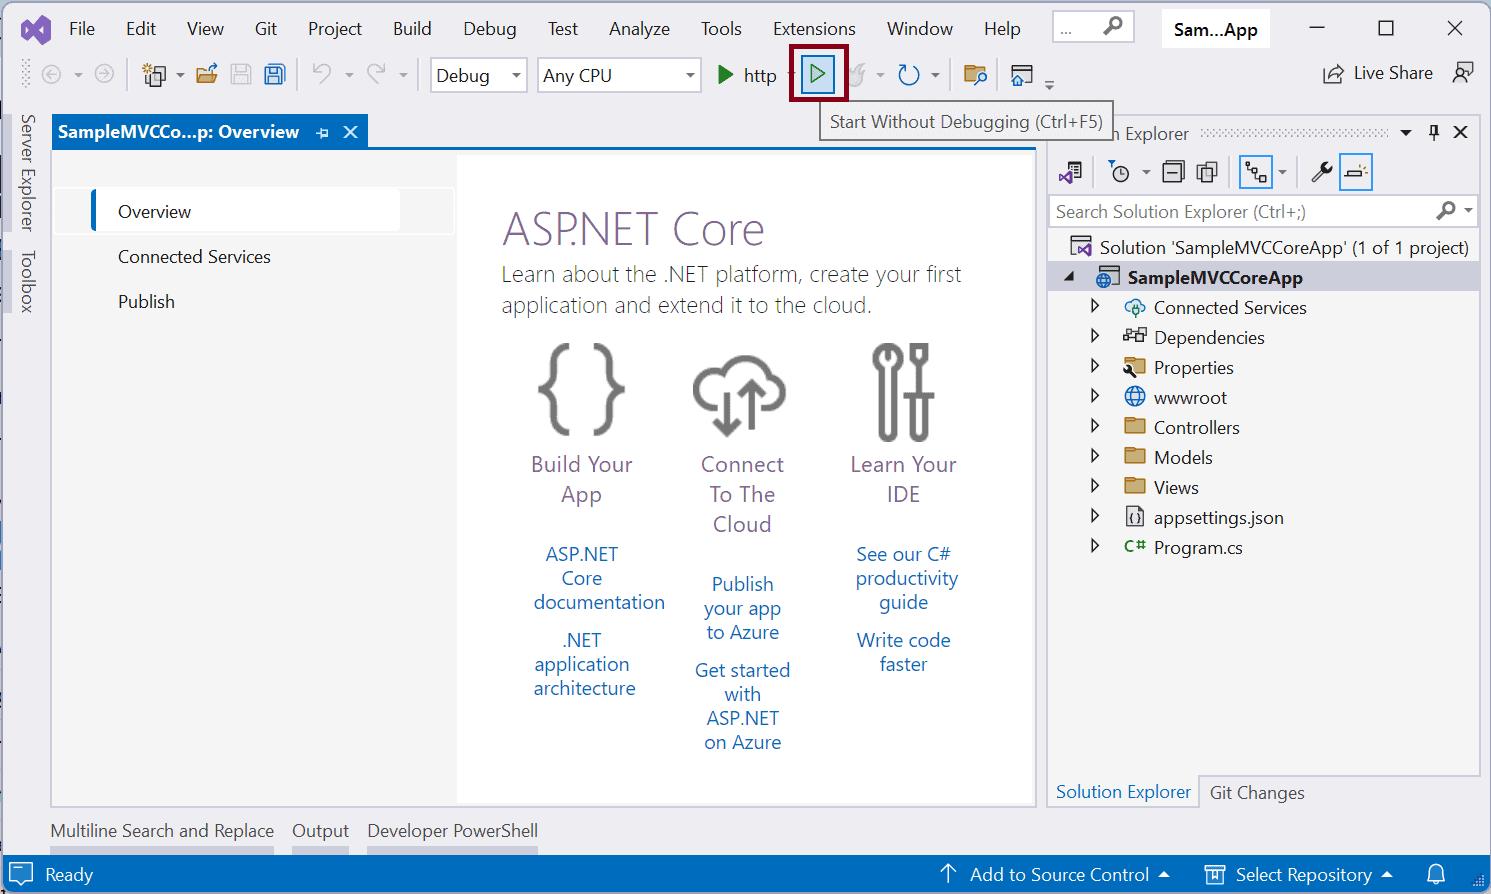
Now, to run out application, click on the run button, as shown below.
This will open the application on your default browser look like below.
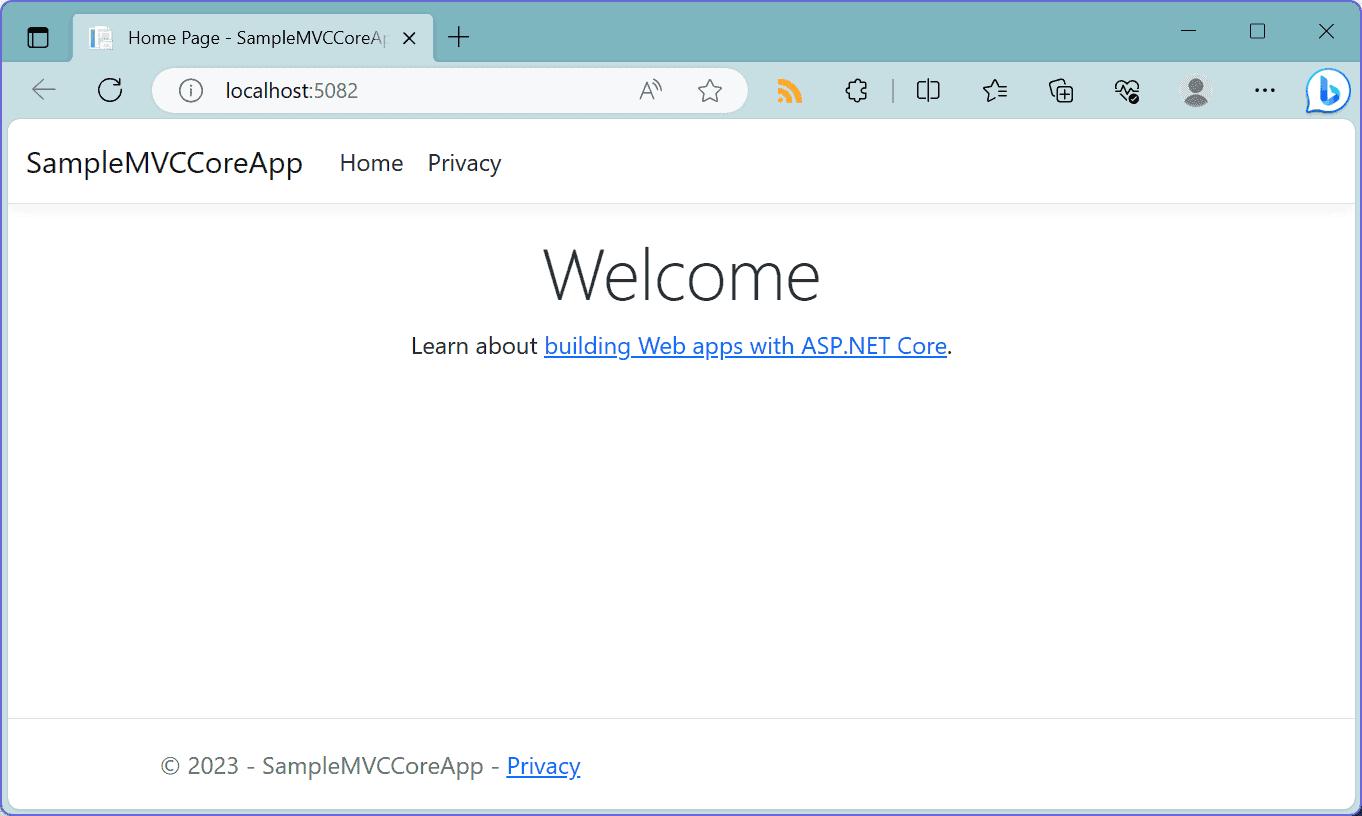
This is by default responsive web application. If you decrease the size of a browser then you will see the mobile version of the application.
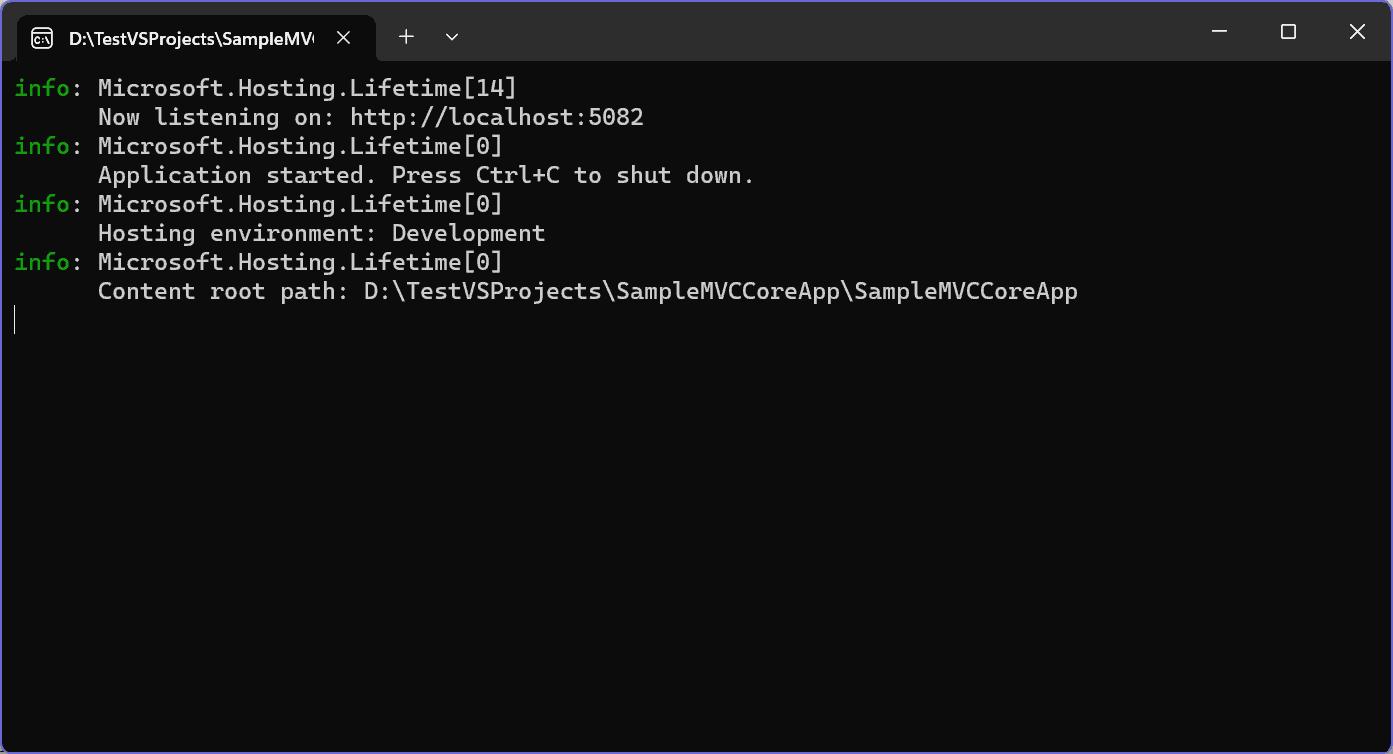
You will notice that as soon as you run the application, it will also open the terminal (command window in Windows) along with the browser. This is for the internal web server Kestrel. It displays the URL and other hosting information. If you press Ctrl + c then it will shut down the web server and so the application will stop running.
In this way, you can create the default ASP.NET Core MVC application to get started.
Let's understand the MVC Core project structure next.