Create Angular 2 Application
Here you will learn to create an Angular 2 (valid in the Angular 11 too) application using Angular CLI.
Angular CLI helps us to set up a workspace and an initial application quickly, which includes necessary NPM libraries and other dependencies for the application.
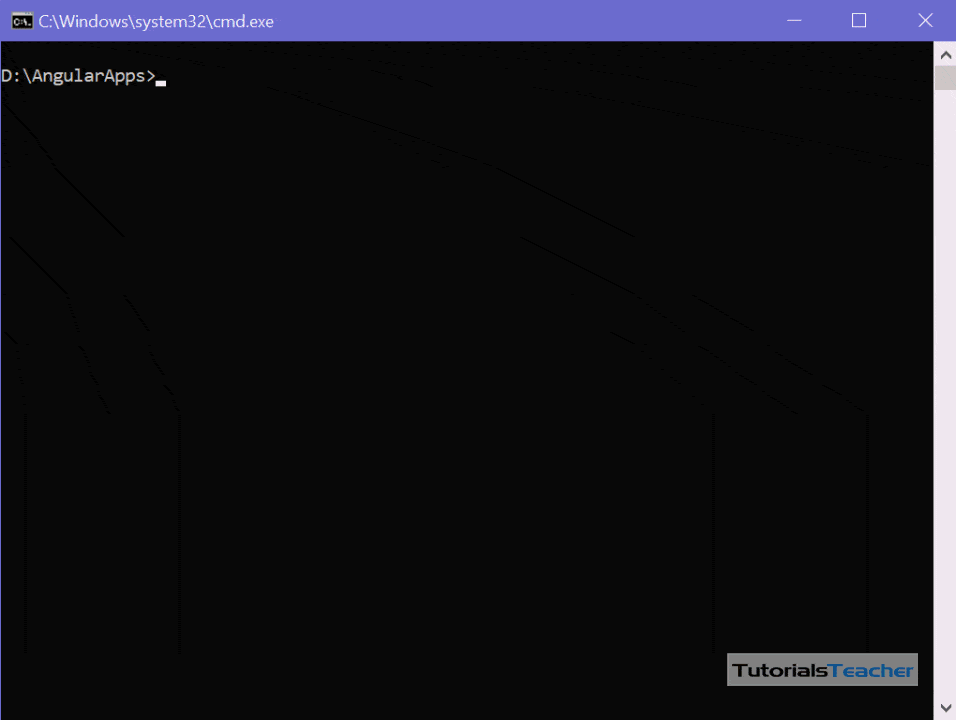
To create an initial application, navigate to the folder where you want to create an application, and execute the ng new <project name> command in the terminal/command window.
The following creates a new angular application named "FirstAngularApp" in the AngularApps folder.
D:\AngularApps> ng new FirstAngularAppThe ng new command prompts you for information about features to include in the initial app project. You can accept the defaults by pressing an Enter key, as shown below.
The above command may take 2-3 minutes to create a project and install necessary libraries. To open this project in VS Code, navigate to the project folder in the terminal/command window and type code ..
Your new project in VS Code will look like below.

The left pane in VS Code shows the files and folders created by Angular CLI. Learn about the Angular project folder structure here.
Run Angular Application
To run an Angular application in the browser, you first need to build it.
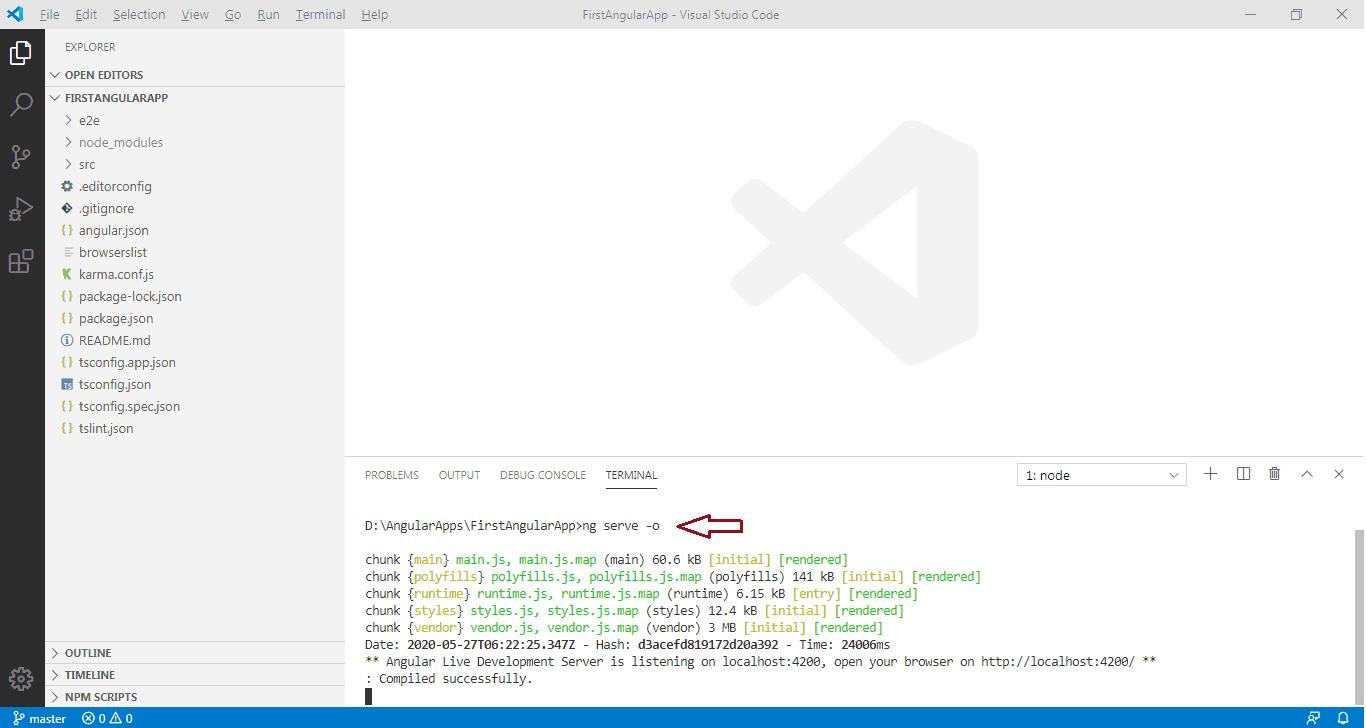
You can build and run applications either using Angular CLI command or NPM command. You can use the terminal/command window to execute these commands. However, if you are using VS Code then you can execute commands from its terminal.
Use Angular CLI command ng serve -o to build an application. The -o indicates to open it automatically in the default browser.
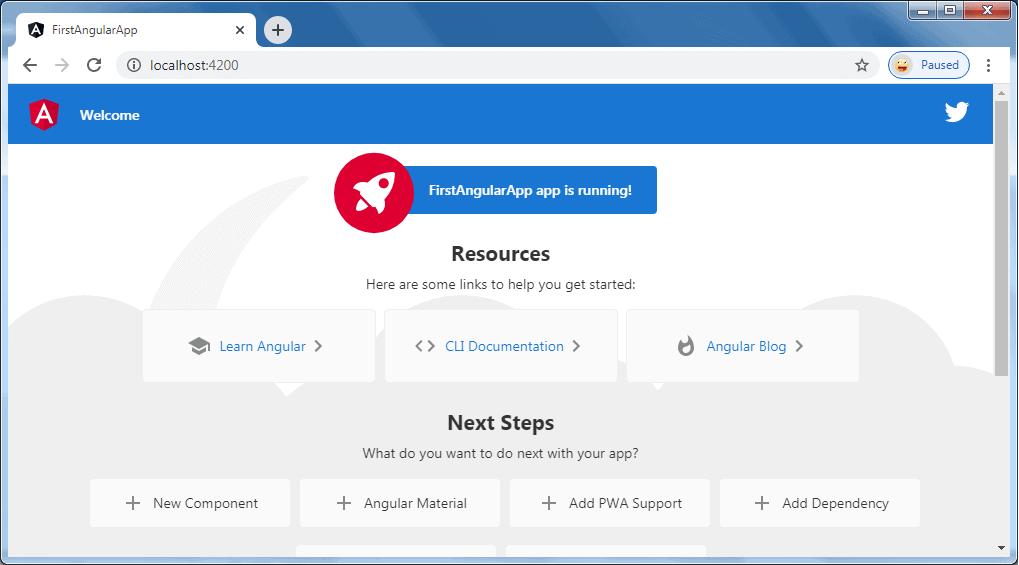
Use NPM command npm start to build an application. Internally, it uses ng serve command only. Open a browser and navigate to http://localhost:4200 to see the application home page. The http://localhost:4200 is the default URL of an Angular application created using Angular CLI.
Open the terminal in VS Code from menu Terminal -> New Terminal, and type ng serve -o command and press enter, as shown below.
The ng serve command builds the app, starts the development server, watches the source files, and rebuilds the app as you make changes to those files. It will open your Angular application in the default browser, as shown below.
The ng serve command keep watching source files, so if you make any changes in any file of the project, it will rebuild it and refresh the browser automatically to reflect the changes.
To stop the automatic build process, press Ctrl + c in the terminal of VS Code.
Thus, you can create a workspace and an initial Angular project and run it using VS Code.