SQL Server: Check Constraints
In SQL Server, a check constraint is used to specify the limitation on the values of a column when inserting or updating.
For example, use check constraint if a column required a date value in specific range, or a value must be in some specific format e.g. value in the zip_code column must be of 5 digits.
CONSTRAINT <constraint_name> CHECK(<boolean_expression>)Check constraints can be created with CREATE or ALTER TABLE T-SQL. Add check constraints after all columns definition in the CREATE TABLE statement.
The following CREATE TABLE statement defines a check constraint on the Salary column of the Employee table.
CREATE TABLE Employee(EmployeeID int,
    FirstName nvarchar(50) NOT NULL,
    LastName nvarchar(50) NOT NULL,
    EMail nvarchar(50),
    Salary int,
    ADD CONSTRAINT CHK_Emp_Salary CHECK(Salary > 2000 AND Salary < 4000))
The following ALTER TABLE statement adds a check constraint on the Salary column of the Employee table where values must be evaluated to True for a boolean expression Salary > 2000 AND Salary < 4000.
ALTER TABLE Employee
ADD CONSTRAINT CHK_Emp_Salary
CHECK (Salary > 2000 AND Salary < 4000);
Now, if you try to insert or update a record in the Employee table where Salary is not within the specified range, then it will raise the following error.
The INSERT statement conflicted with the CHECK constraint "CHK_Emp_Salary". The conflict occurred in database "HR", table "dbo.Employee", column 'Salary'. The statement has been terminated.Important Points:
- A check constraint can be created with any logical Boolean that returns
TrueorFalsebased on logical operators. For example, a boolean expressionSalary > 2000 and Salary < 4000specifies that the value in theSalarycolumn must be more than2000and less than4000. - A boolean expression of check constraint can use multiple columns.
- A single column can have multiple check constraints.
- Check constraints reject values that evaluate to False. If you try to insert a value outside the check constraint value range then SQL engine throws an error stating that the insert statement conflicted with the CHECK constraint and the statement was terminated.
- A check constraint does not evaluate a NULL value. So NULL can be inserted without restriction. Use NOT NULL constraint to restrict the NULL values.
- Check constraints are not validated during the Delete statements.
- You can enable or disable check constraints instead of deleting them.
Create Check Constraint Using SSMS
Step 1: In the Object explorer, expand the table folder and right-click on Constraints folder and select New Constraint, as shown below.

Step 2: The Check Constraint dialog box opens. Select Expressions and click on ellipses ..., as shown below.
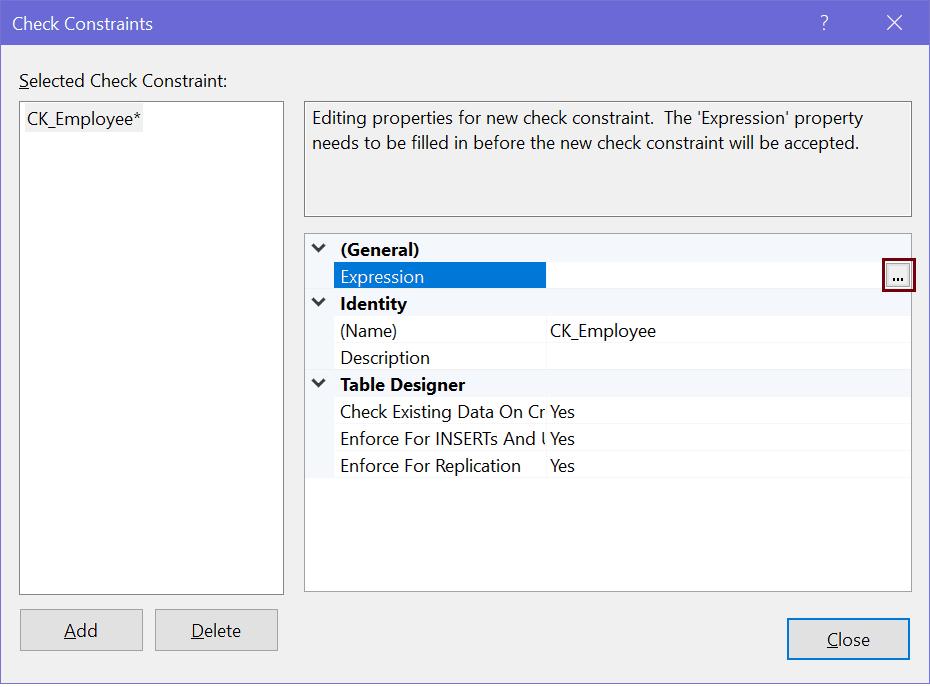
Step 3: In the "Check constraint Expression" dialog box, type SQL expression for the check constraint. For example, for the Salary column of the Employee table, enter the salary range as Salary > 2000 and Salary < 4000 and Click OK.

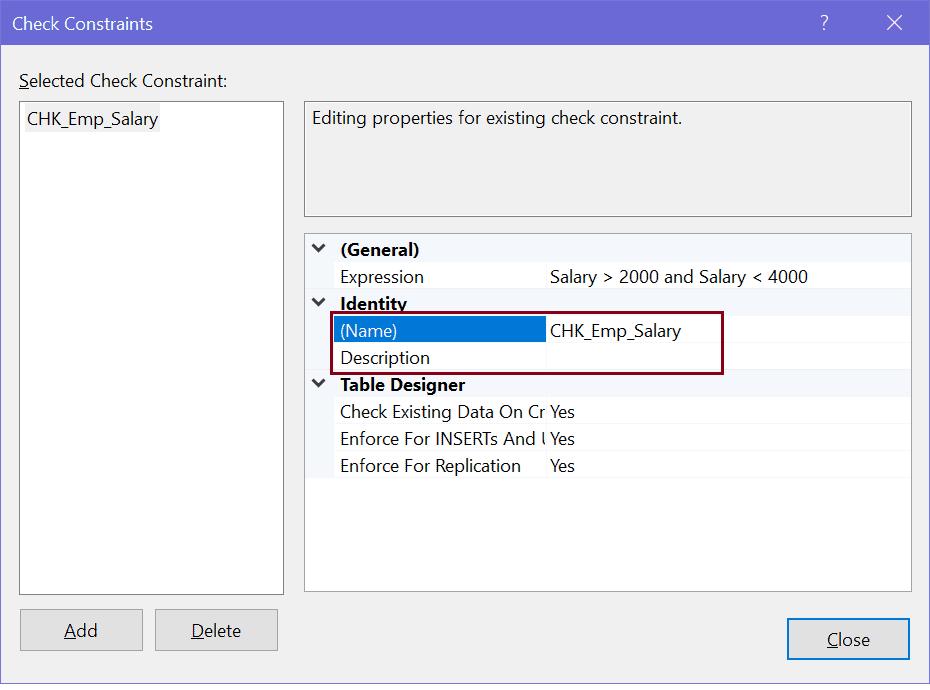
Step 4: In the Identity category, you can change the name for the constraint and add a description.
Step 5: In the Table Designer section below Identity, enable or disable check constraint, and specify when the check constraint is enforced.
Step 6: Click Close. In File menu, click Save <table name>.
Thus, you can create a check constraint on a column in a table.
Modify Check Constraints using SSMS
Open SSMS (SQL Server Management Studio), right-click on the table name and select Design to open it in the table designer.
Now, right-click on the table designer and select Check Constraints..., as shown below.

This will open "Check Constraint" dialog box where you can edit an expression, re-name the constraint, or disable the constraint for any updates or inserts, as shown below.

After modification, click Close and save the changes.
Enable or Disable Check Constraint
Once you create a check constraint, you can disable it. Disabling check constraint will not enforce the check constraint on insert or update. You can re-enable it later on when needed.
ALTER TABLE <table_name>
NOCHECK CONSTRAINT <constraint_name>;
The following disables the CHK_Emp_Salary constraint.
ALTER TABLE Employee
NOCHECK CONSTRAINT CHK_Emp_Salary;
To disable a check constraint in SSMS, select "No" for the "Check Existing Data On Creation Or Re-Enabling". Select "Yes" to re-enable it, as shown below.

Delete Check Constraint Using SSMS
Use the DROP CONSTRAINT statement in the ALTER TABLE statement to delete existing check constraints.
ALTER TABLE <table-name>
DROP CONSTRAINT <constraint_name>;
The following deletes a check constraint CHK_Emp_Salary in the Employee table.
ALTER TABLE Employee
DROP CONSTRAINT CHK_Emp_Salary
To delete constraints using SQL Server Management Studio, expand the table having the constraint to be deleted.

Now, expand Constraints node and right-click on the constraint to be deleted and click Delete.
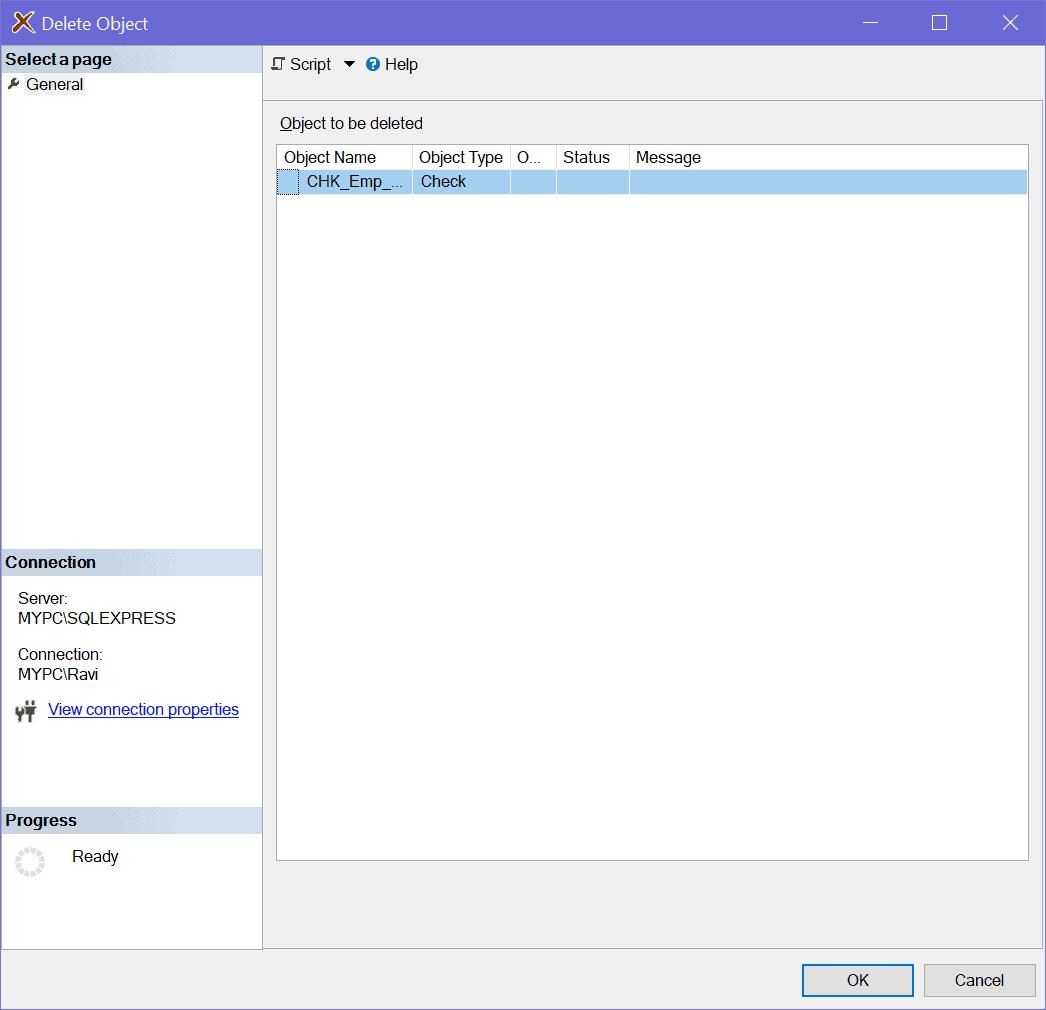
In the Delete Object dialog box, click Ok to delete a constraint.