SQL Server - Windows Authentication
Here you will learn how to use your Windows user account to authenticate with the SQL Server.
SQL Server supports the two layers of authentication: login and database user. Login is the first layer of security to access and connect to the SQL Server. A login has nothing to do with the databases. Instead, login is mapped to a user in a database to read or write to a particular database.
There are two authentication modes in SQL Server using which you can login and connect with the SQL Server.
- Windows Authentication
- SQL Server Authentication
Windows Authentication
Windows authentication mode enables local Windows authentication with SQL Server, where you can login with your local Windows credentials.
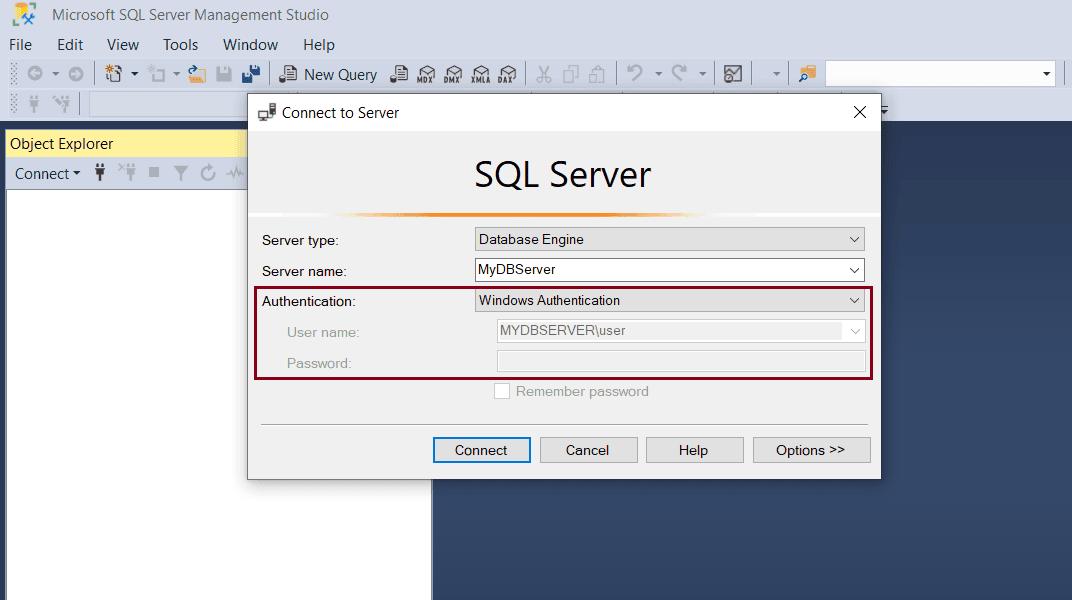
For example, the following uses a Windows credential to connect to SQL Server where user in MYDBSERVER\user is the local user account on Windows and MYDBSERVER is the name of the database server. Click OK to login with this credentials and connect to the MYDBSERVER database server.
Windows authentication is the default authentication mode and is more secure than SQL Server authentication. It is also referred to as integrated security which is tightly integrated with Windows. Users who are already authenticated with Windows and need not provide any additional credentials while connecting to SQL Server. It is also called a trusted connection. The user account is confirmed by Windows.
In Windows authentication, login can be created in SQL Server for an entire Windows group which simplifies managing account administration.
Windows authentication uses Kerberos security protocol, provides password policy enforcement, and supports password expiration.
Let's see how to create a new login that uses local Window's user account to connect with the SQL Server.
Create a New Login with Windows Authentication
To create a new login, open SQL Server Management Studio.
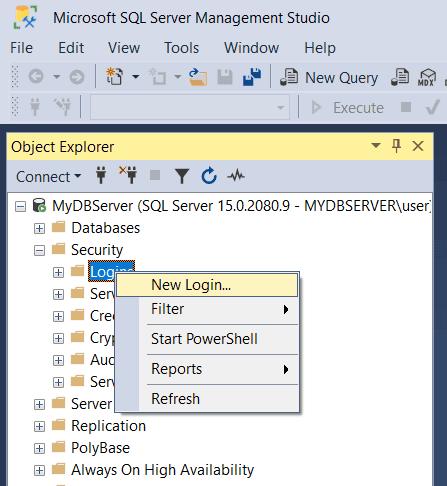
In the object explorer, expand the Security folder and right-click on the Logins folder and click New Login.., as shown below.
In the Login –New window, shown below, enter a Windows user name. If a user name is not a Windows user then it will raise an error. You may click on the Search button to search a Windows user, as shown below.
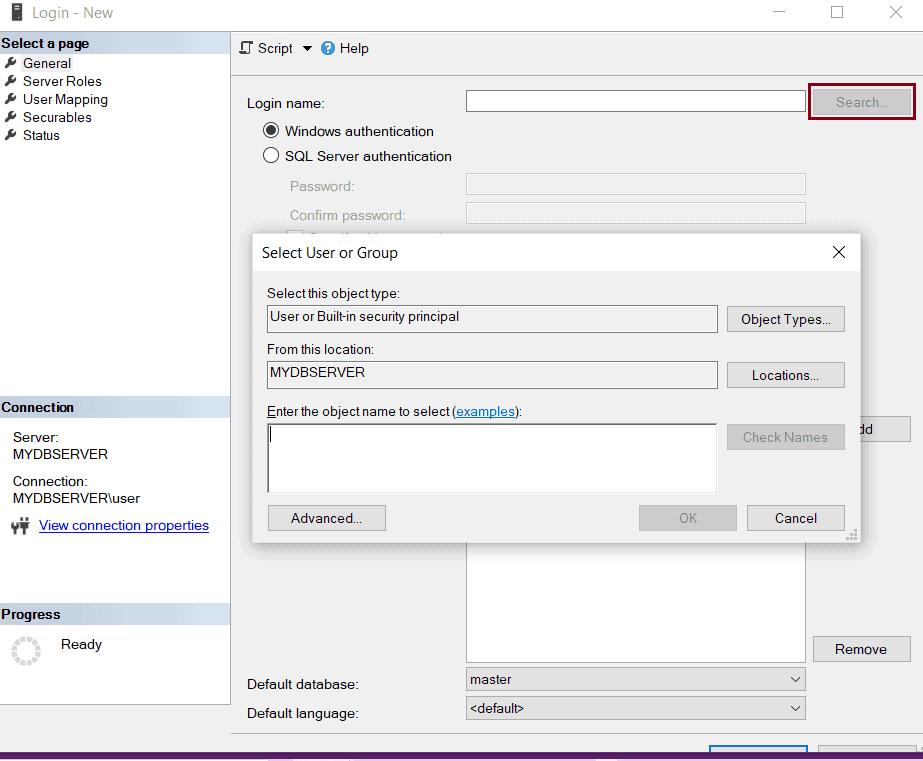
After entering a login name, you will have to choose either Windows authentication or SQL Server authentication. Select Windows authentication. Notice that the password field and password policy radio buttons will be disabled for Windows authentication because we will use the Windows credentials here.

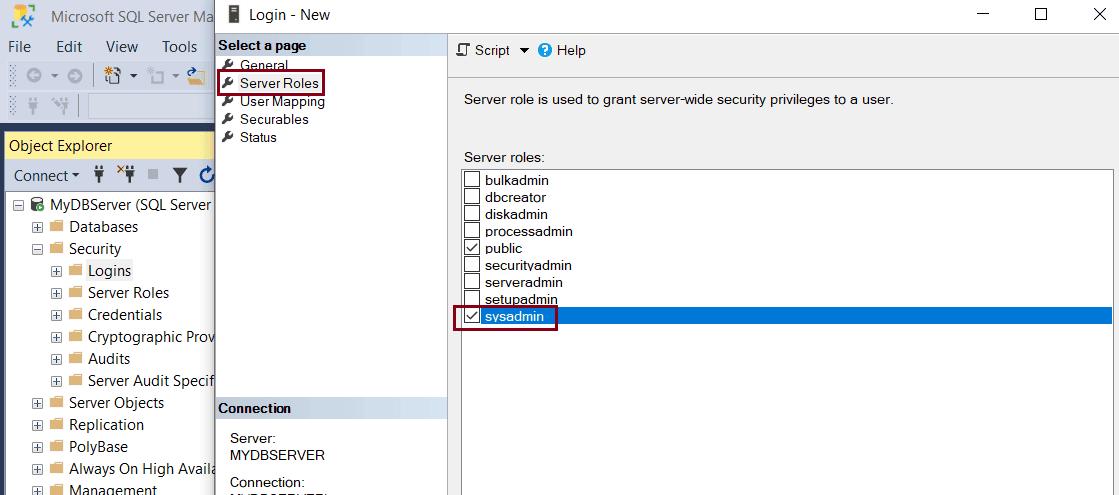
Now, to assign roles & permission to the new login, go to the Server Roles tab. On the Server Roles page, you can assign the server-level role to the new login by clicking the checkbox next to the role. By default, the public role is assigned to a new login. Additionally, let us assign the sysadmin role by clicking on the checkbox next to sysadmin. With sysadmin server role, user can perform any activity on the server and has full control.
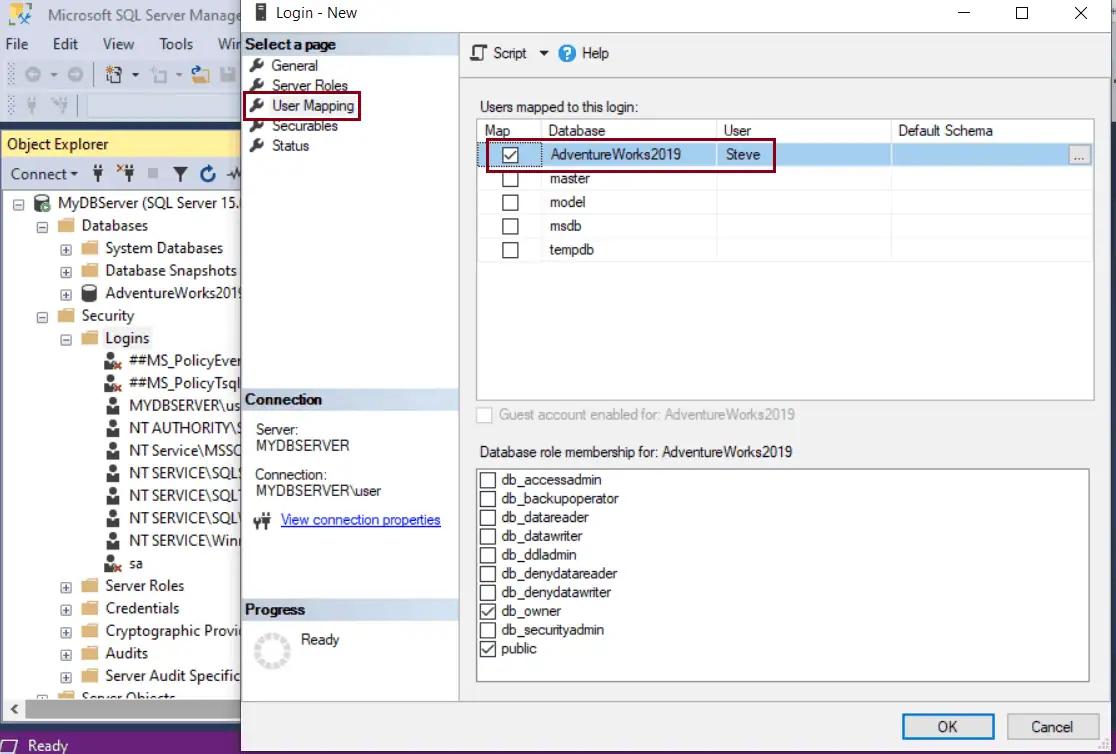
Click the User mapping tab. Here, we will map our Windows login to a database user.
It lists all the databases on the server. To map your new login, just select checkboxes next to databases for which you want map this login to access a database.
In the below figure AdventureWorks2019 database is selected. The new login is now listed under the User column for AdventureWorks2019. You can change the user name if you want it to give a different name than your login name. Just click on the name and re-type whichever name you want for the user. If you want more databases associated with your login, then just click the checkbox next to the database, and it will be mapped with the login.
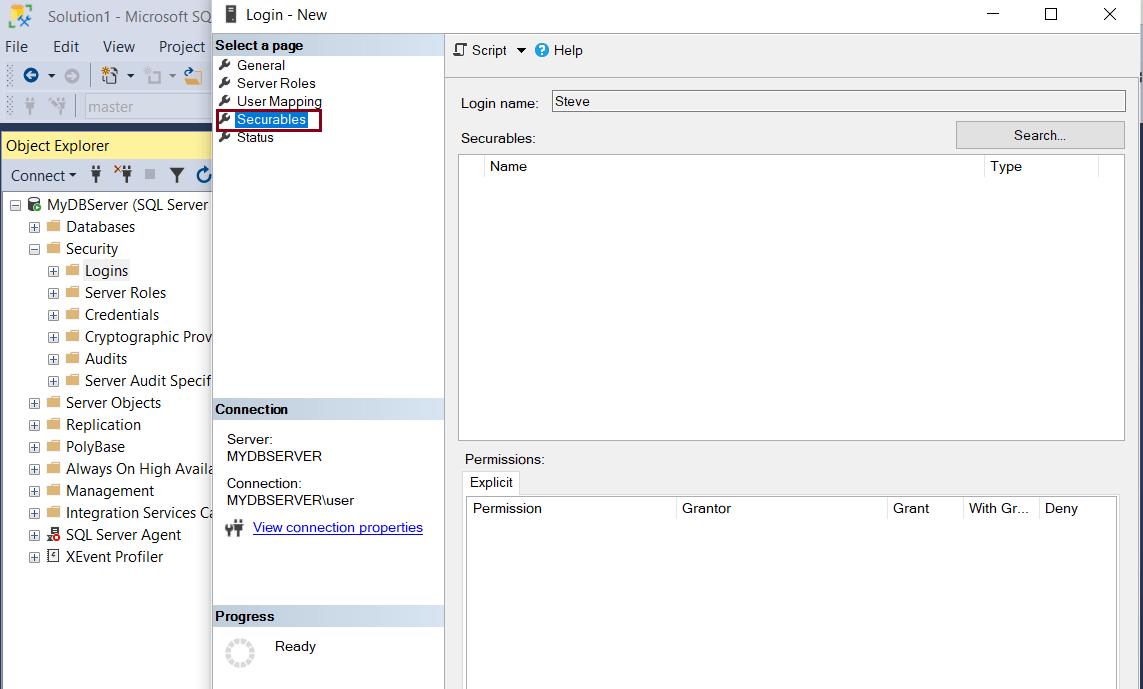
Now, click on the Securables tab. Securables are SQL server resources that can be accessed by a login you are creating. On the Securables tab, click on the Search button. This will open a pop-up, as shown below. Select The server '<Your Server name>' and click OK. This will list all the explicit permissions for a server. Select Grant, With Grant, or Deny as per your requirement.
This is an optional step. You may skip Securables settings while creating the login, and set it later.
Finally, click on the Status tab and select “Grant” radio button for Permission to connect to the database engine, and Enabled radio button for Login, as shown below.
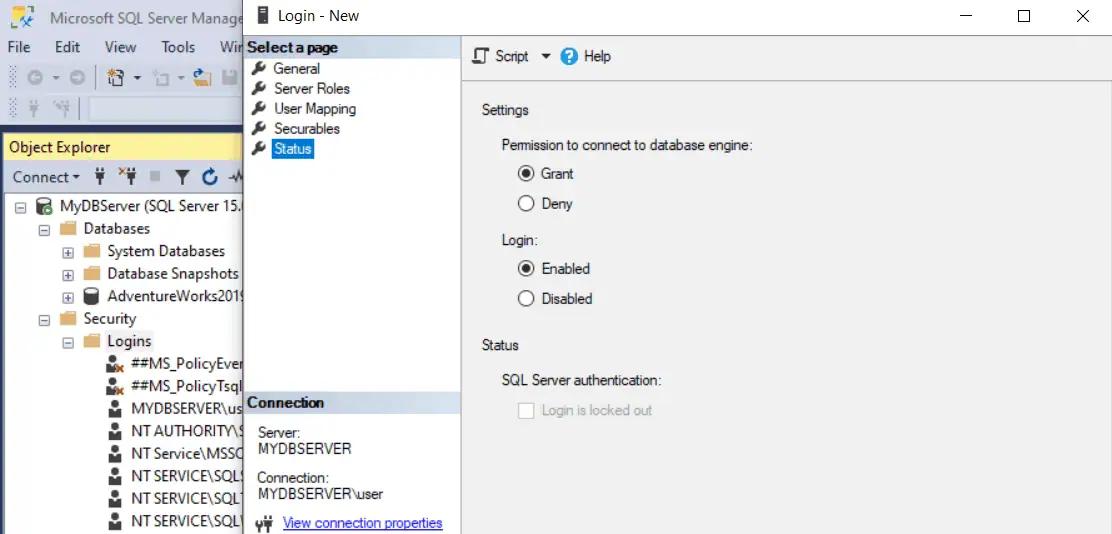
Click Ok to create the new login. This will add a new login under the Logins node.
Thus, you can add your local Windows user account to login with your database server using Windows authentication.