Install PostgreSQL Database
Here you will learn how to install PostgreSQL.
PostgreSQL is available for download as ready-to-use packages or installers for various platforms, as well as a source code archive if you want to build it yourself.
Visit enterprisedb.com/downloads/postgres-postgresql-downloads and click on the download icon for the OS on your PC. Here, we will install PostgreSQL on Windows machine, so click on the download icon for the latest version 14.1, as shown below.
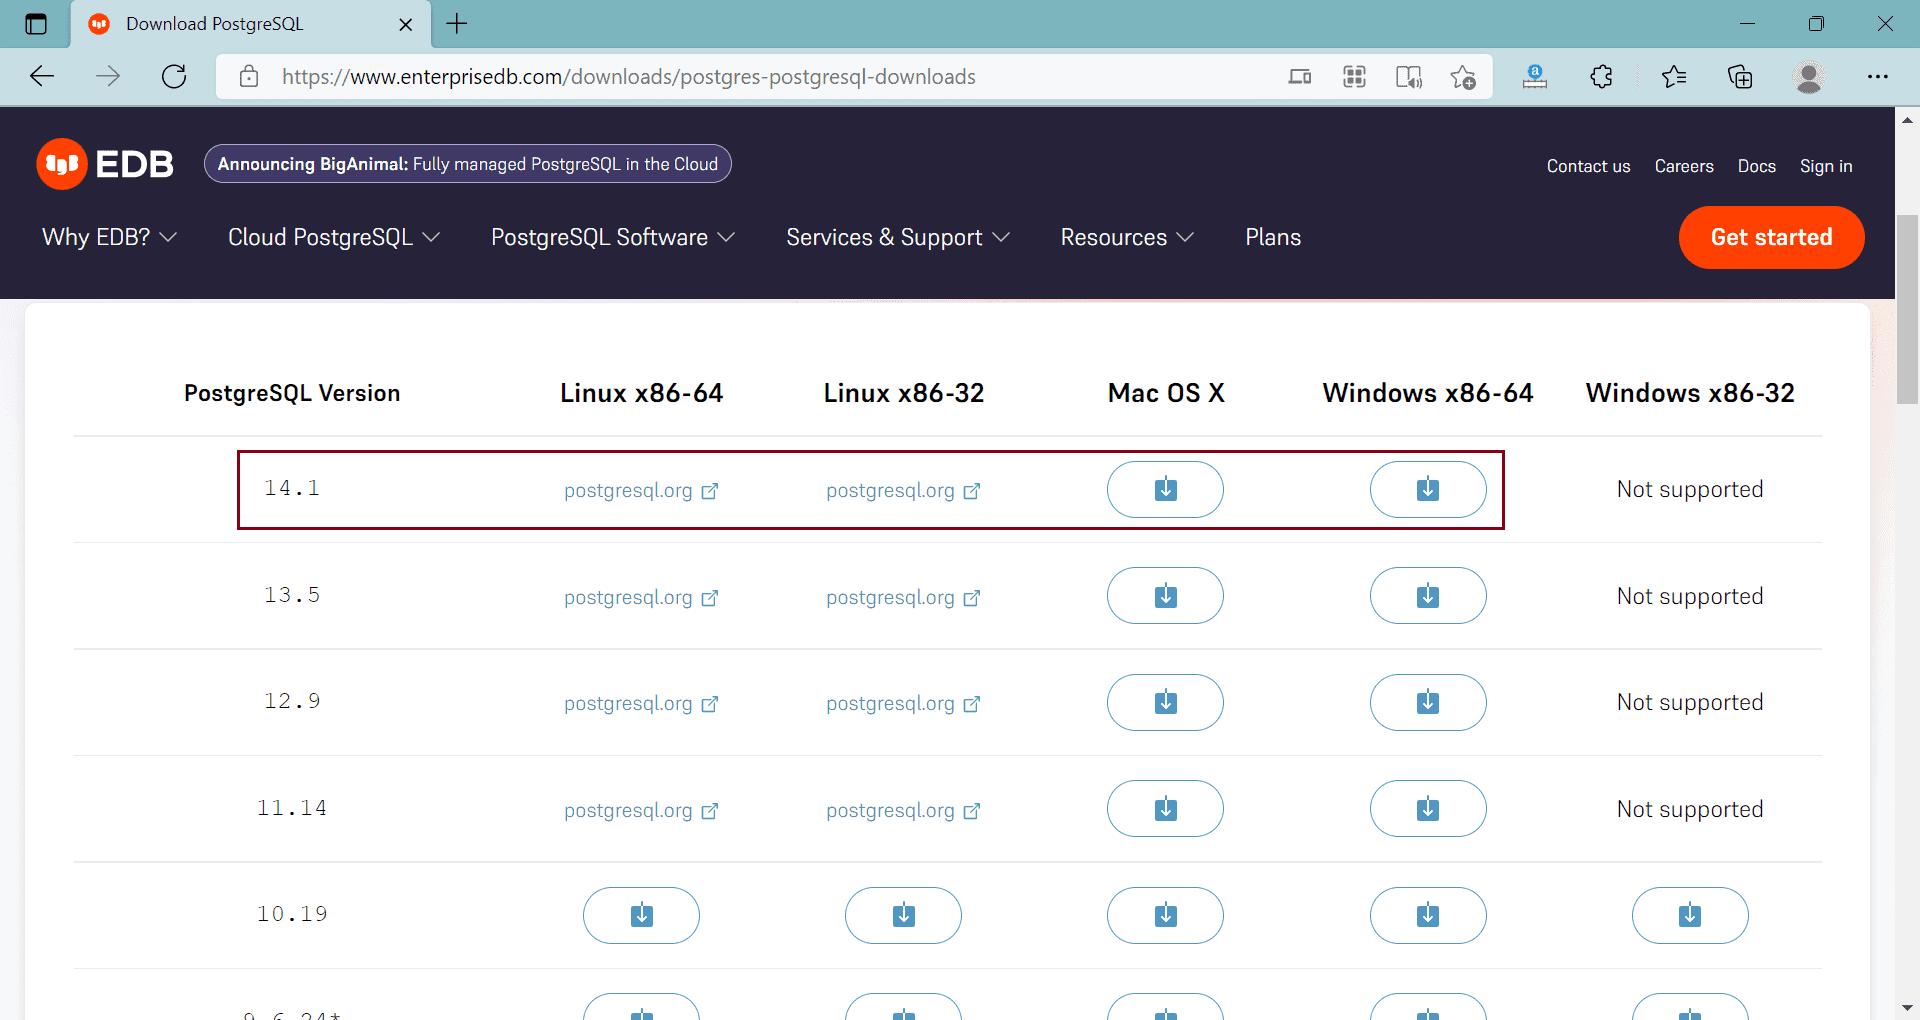
EnterpriseDB is a company that supports and also provides services based on the open-source database PostgreSQL. EDB develops and integrates performance, security, and manageability enhancements into PostgreSQL.
Alternatively, you can also visit the official website https://www.postgresql.org/download and select your OS to download the PostgreSQL installer. This will take you to the above page eventually.
Once the installer downloaded successfully, you can see PostgreSQL-14.1-1-windows-x64.exe. Now, double click on it to start the installation wizard, as below. Make sure you have Administrator privileges on your machine.
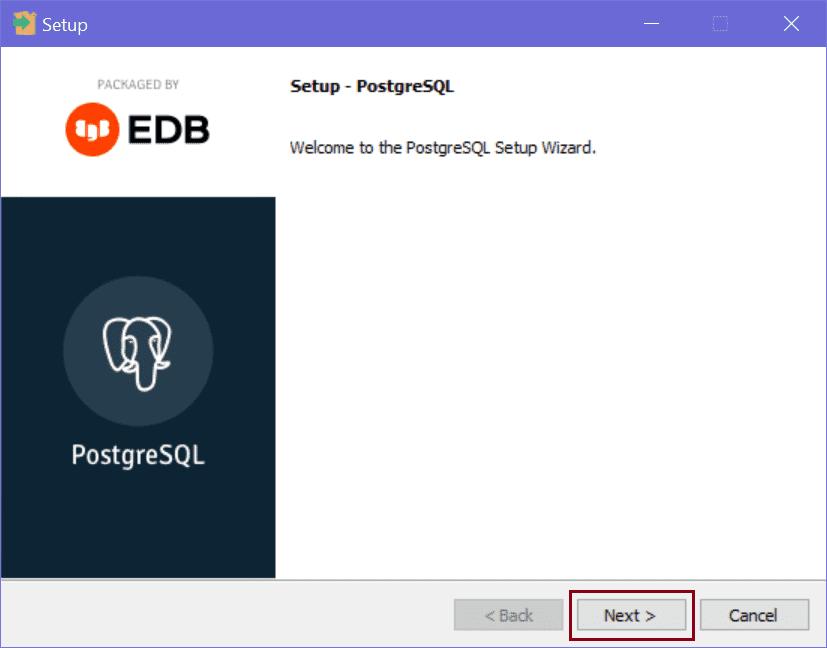
Now, click on the next button to set the installation directory, as shown below.
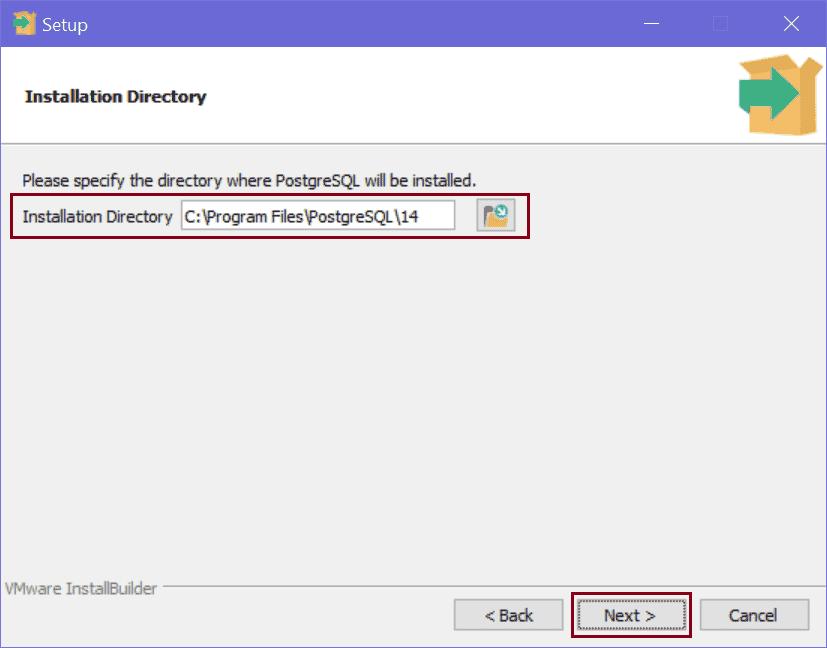
Above, select the Installation Directory or you can go ahead with the default path shown above and click on Next.
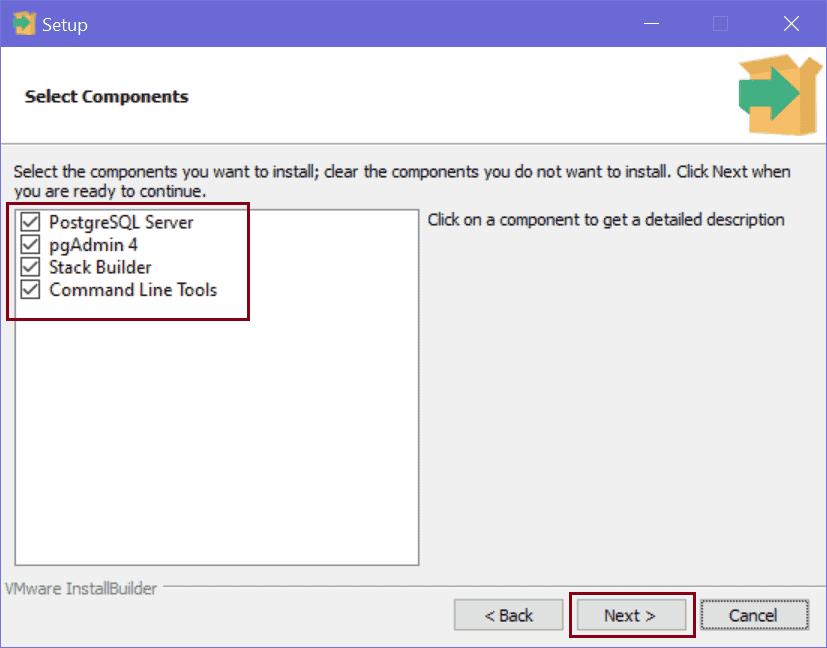
It shows all components for installation. Stack Builder is optional, you can uncheck if you wish or just keep the default selection and click on Next.
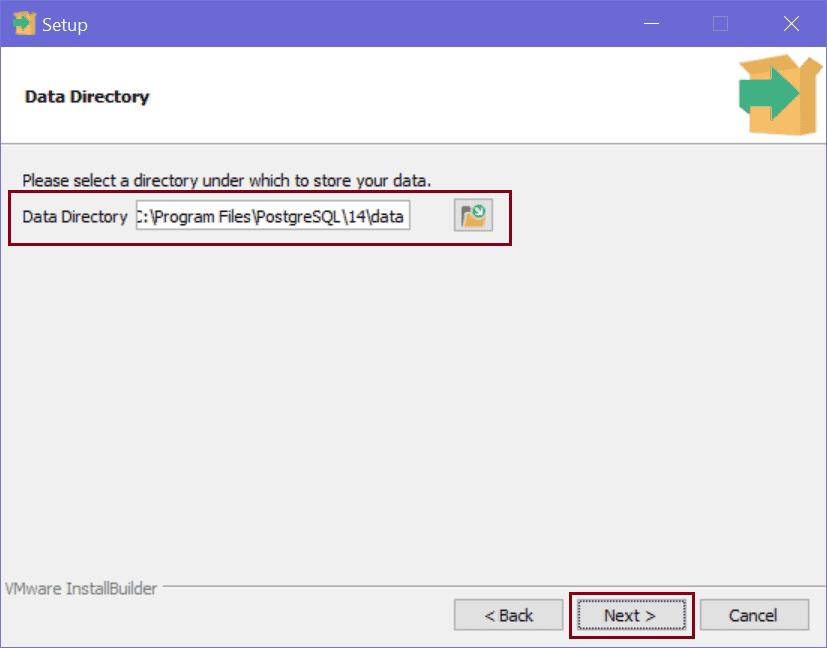
Above, select the directory where you want to store data or go ahead with default selection and click on the Next button.
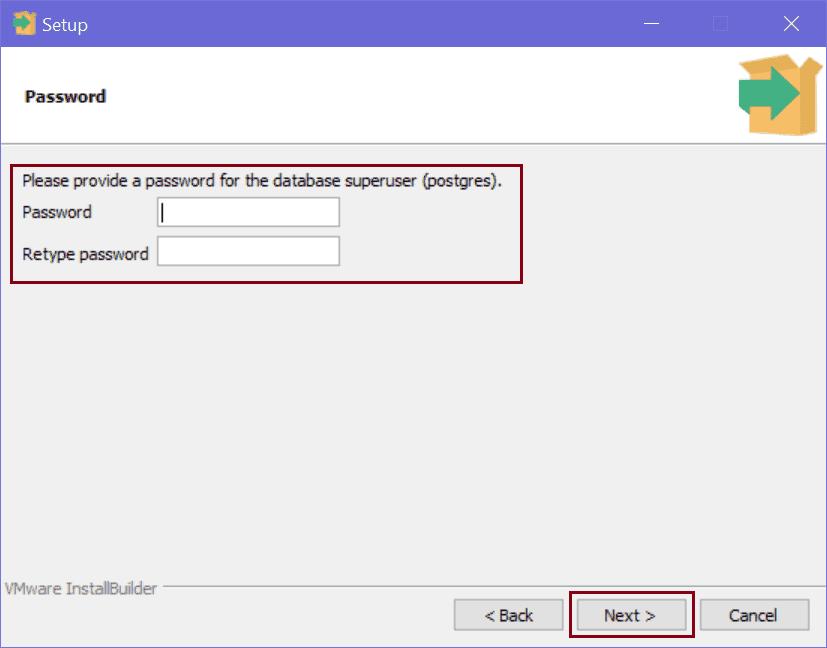
In the above step, provide the password for superuser that is postgres. Please specify the strong password and remember it as you need to provide the password while you connect to PostgreSQL. Click on the Next button to set up a port.

It shows the default port number 5432 on which the database server will listen to incoming requests. Go with the default selection and click on Next
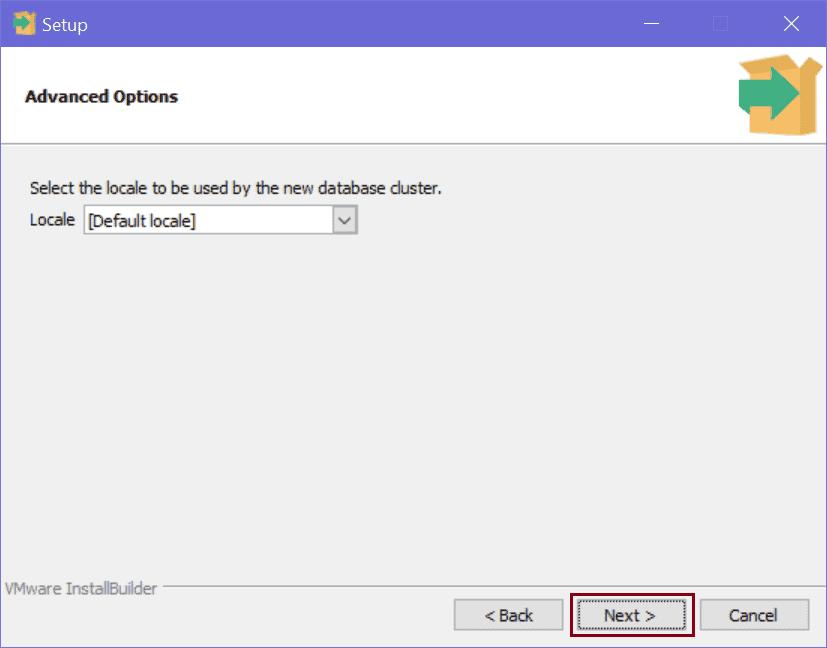
Choose the Locale to be used by the database or go ahead with default selection and click on Next.
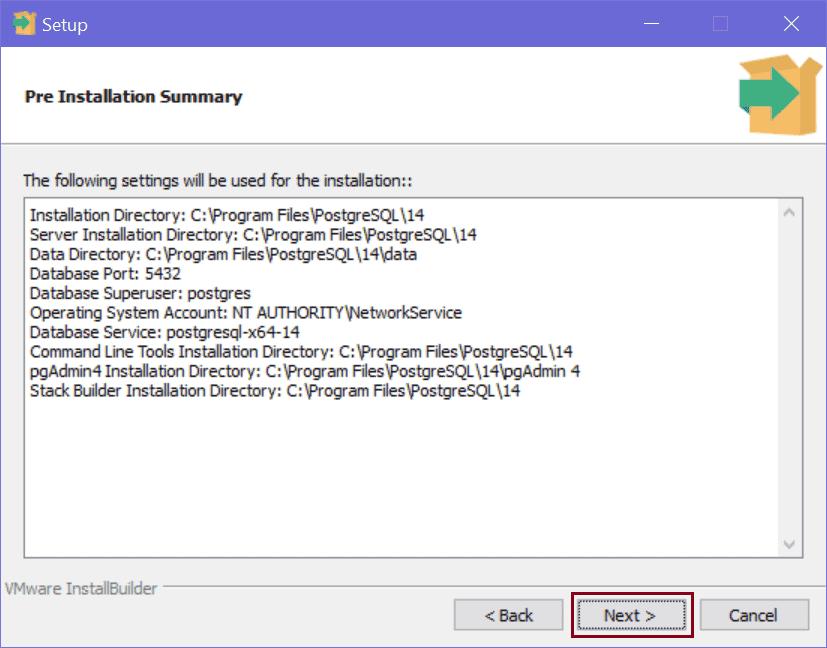
Setup Wizard will show a pre-installation summary, review it, and click on the Next button if everything is ok.
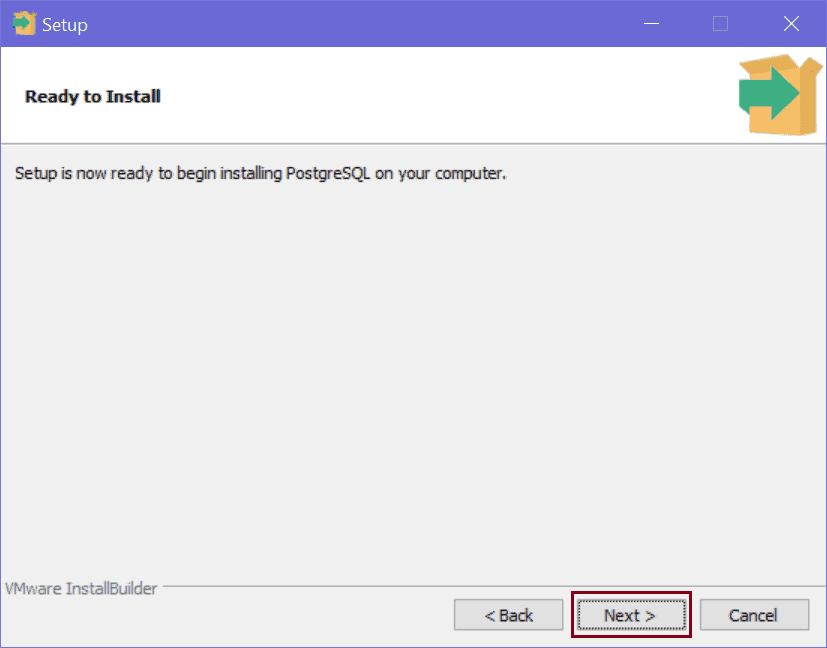
Click on the Next button on the Ready to Install screen, which will start the installation.
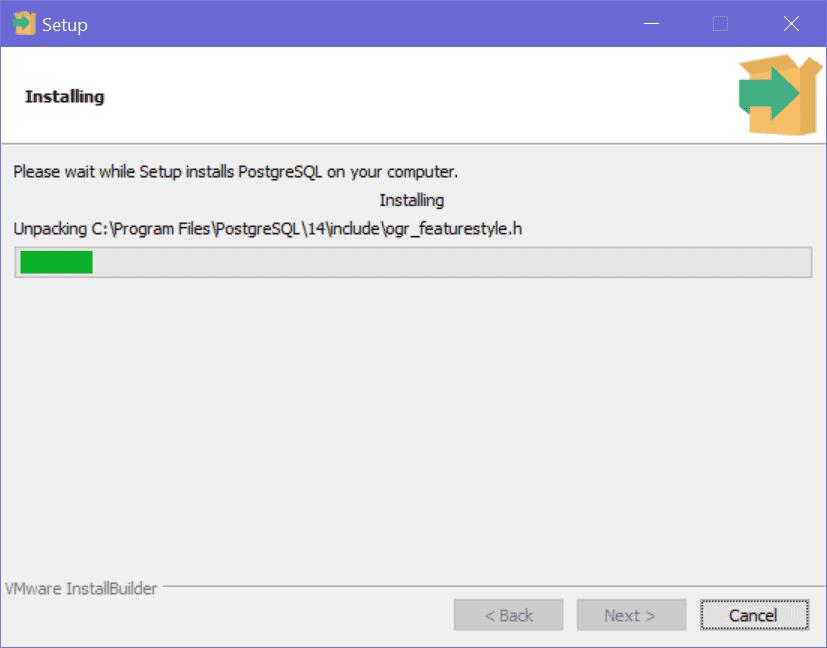
The installation may take a few minutes to finish.
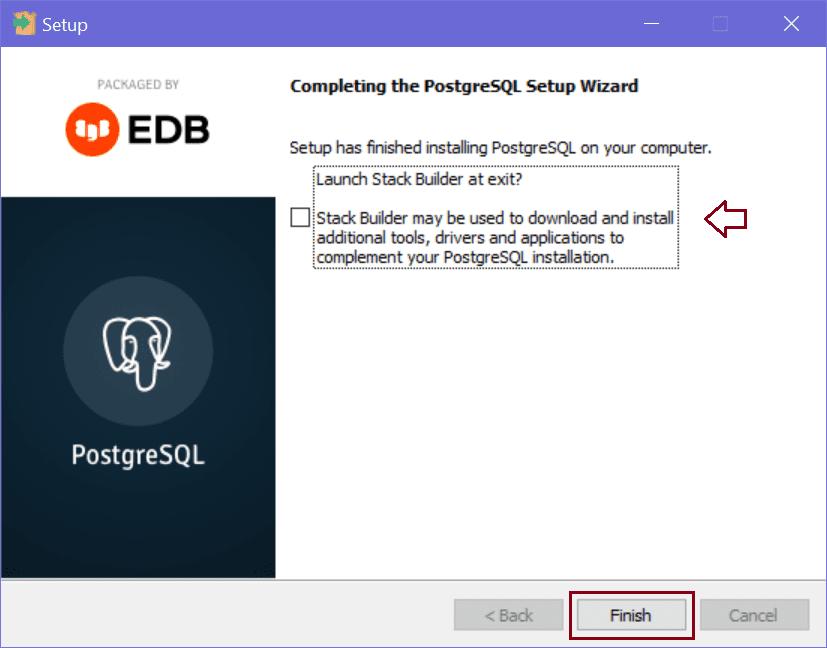
Once installation is finished, you will see this Completion screen, as shown below.
You can uncheck “Launch Stack Builder or exit?” and click on Finish. The Stack Builder can be used if you want to install other components to use PostgreSQL with your application.
After successful installation, you will see PostgreSQL in the All Application menu, as shown below.
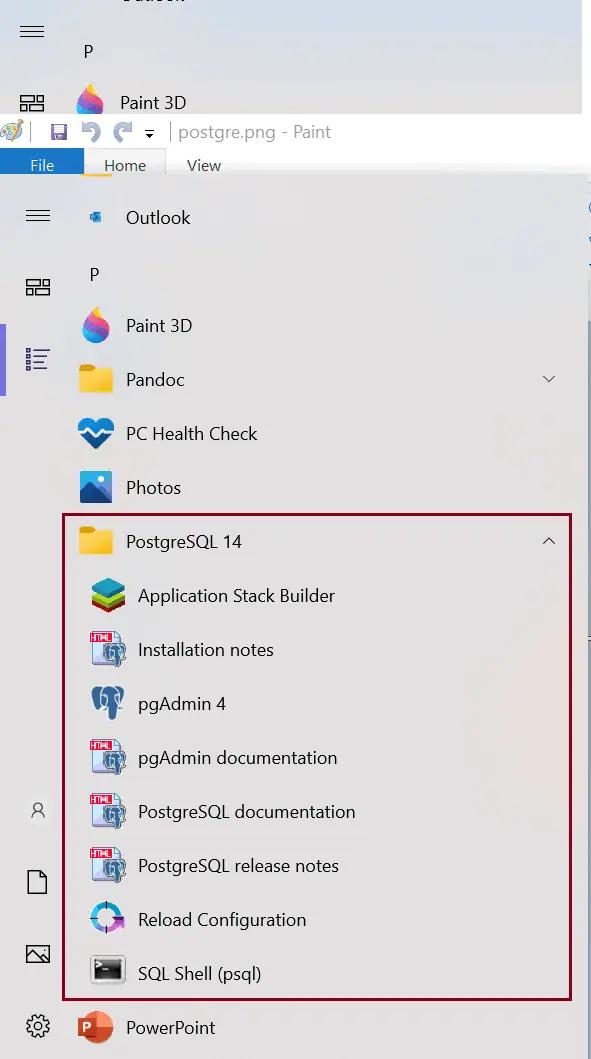
Now, you are ready to use the PostgreSQL database.